I had a request on how to make a scalloped edge frame. So, here's my interpretation of how to do it in Photoshop CS2.
First thing to remember, there are LOTS of ways to get the same result. You may discover a better way but if you have no idea how to start, this may get you out there playing!
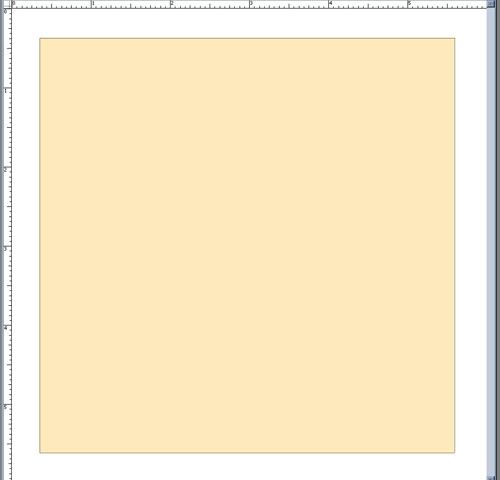
This is the final result and, yes, this will be a freebie at the end!

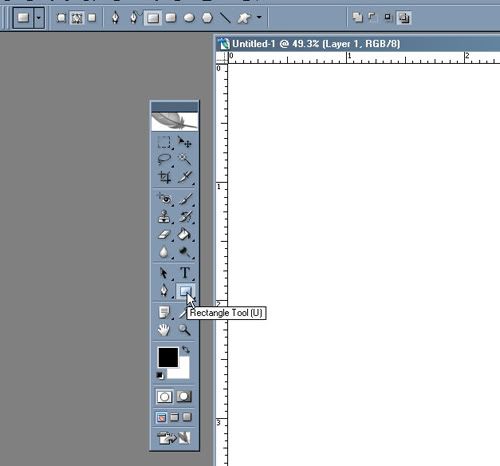
Ok, the first thing I do is draw out the frame size I want with a path. I choose the rectangle tool.
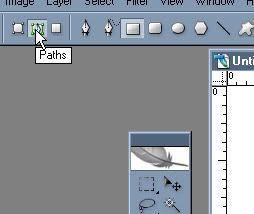
And make sure that Paths is selected.
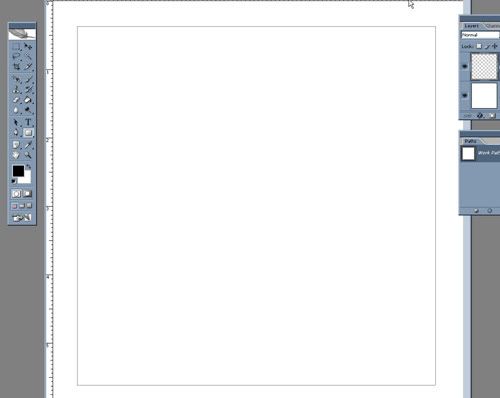
Then I draw out the size I want.
The next step is to fill in the shape. I create a new Layer. I chose a creamy color. And then hit the fill path with foreground color option.
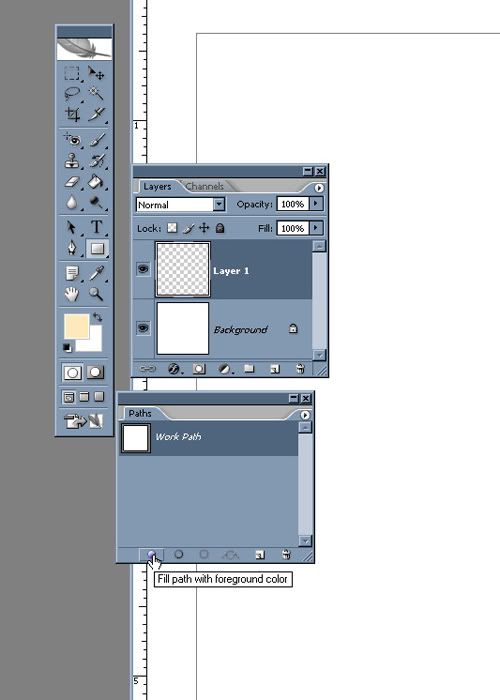
Viola. A filled square.
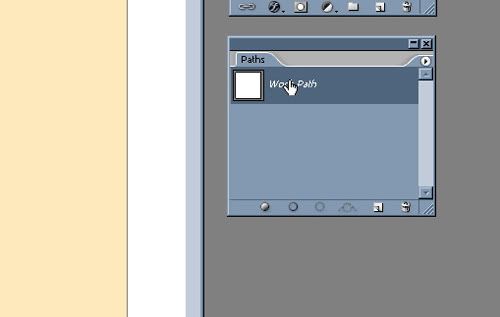
The next step is to add the edge. First, I make sure that path I just created is still selected by clicking on it.
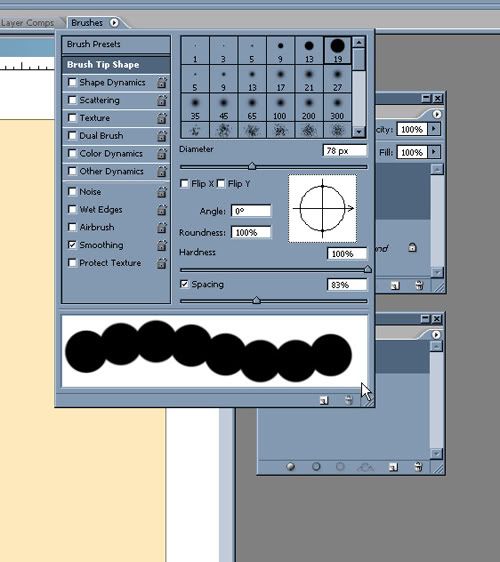
I choose the brush size I want. For this one I chose a round brush at about 78 pixels and then changed the spacing so the dots are touching and pretty close.
I create a new layer and then choose Stroke path with brush.
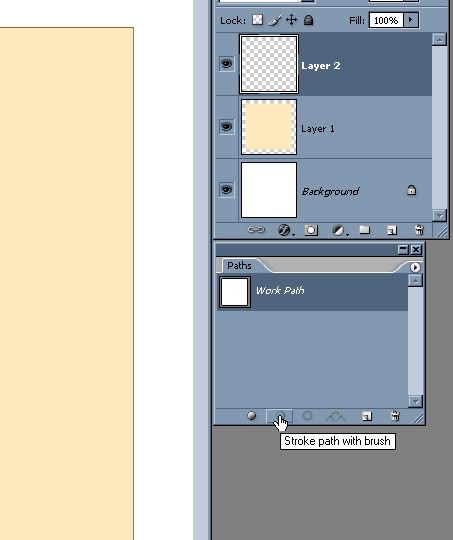
Ok, now I have my shape with the bumpy edge.

Then, with my path still selected, I go to Edit > Transform > Path and I typed in about 95% for the reduction.
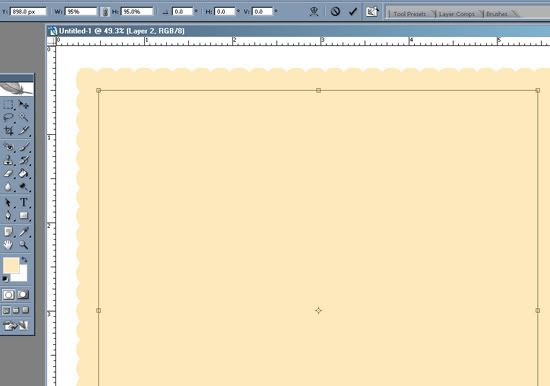
The next step is to "Load path as a selection"
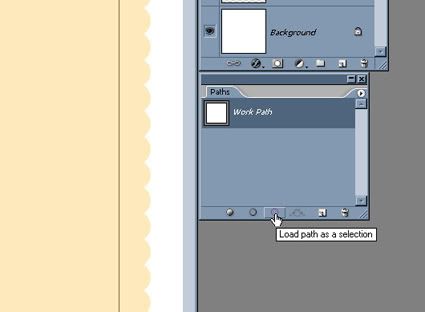
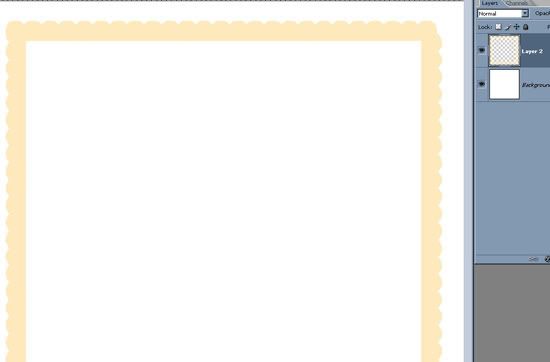
Click on the layer with the filled square. Layer 1 in my example. And hit delete. And you have your basic frame!

If I'm happy with it, I go ahead and merge the layers. You merge by selecting (holding the shift key) what ever layers you want to merge into one. For my example, Layers 1 and 2.
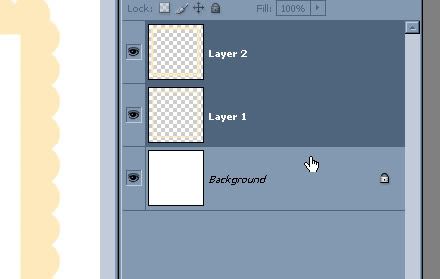
Hit Control E and the two layers are now one!
I did some fidgeting and futzing and shadow work to put together a basic scalloped edge frame that has a bit of curl on the edges. You can download it HERE!
Enjoy! And if you have any ideas for more tutorials, let me know here!
