Ok, I'm not sure sticker-ize is even a word but here's how to take a graphic element and make it look like a sticker!
Below is a finished layout using some elements from an old kit of mine.
(and yes, this layout is the freebie!)
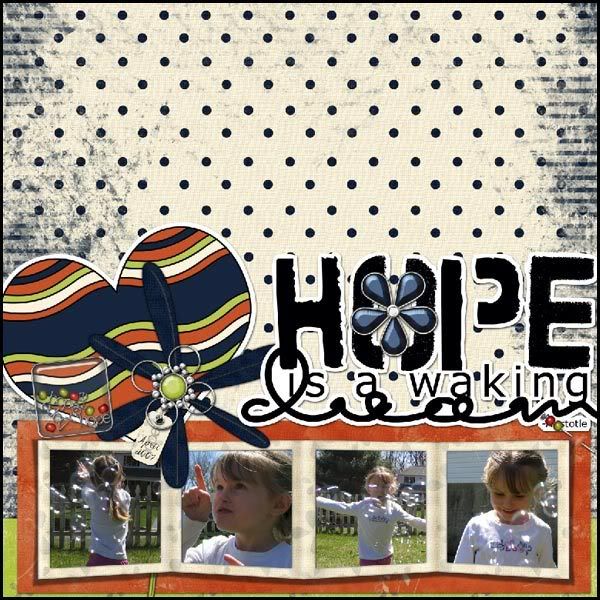
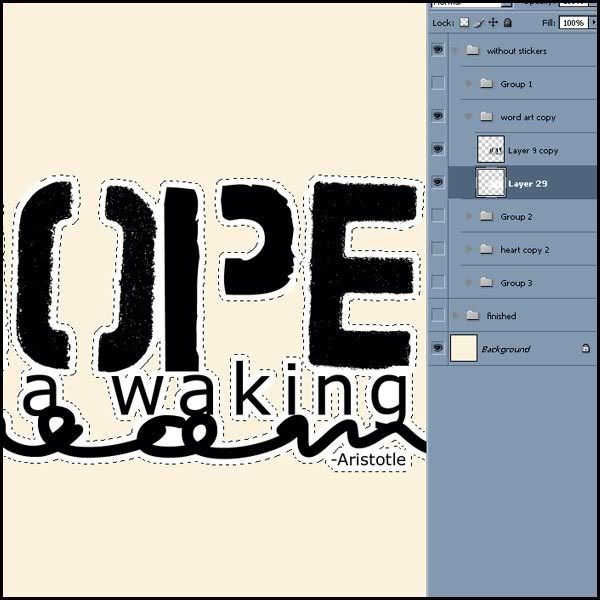
And all the elements used are what I call out-of-the-box. Meaning I didn't change them at all, except for two pieces. Let's take a look at the layout BEFORE I changed anything . . . before I sticker-ized it!
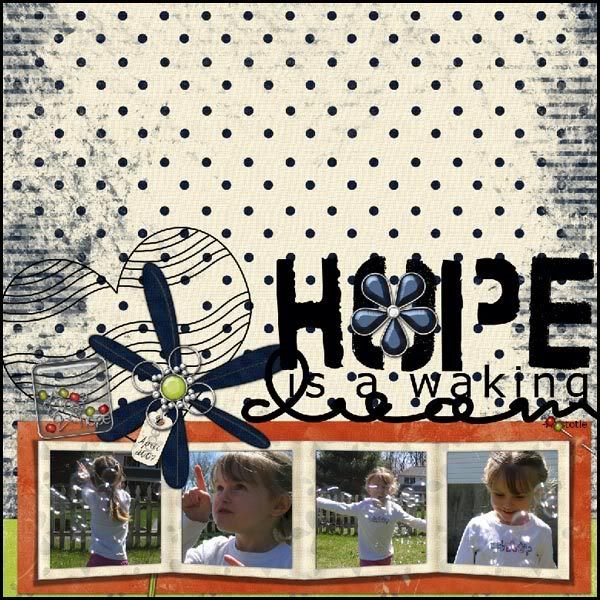
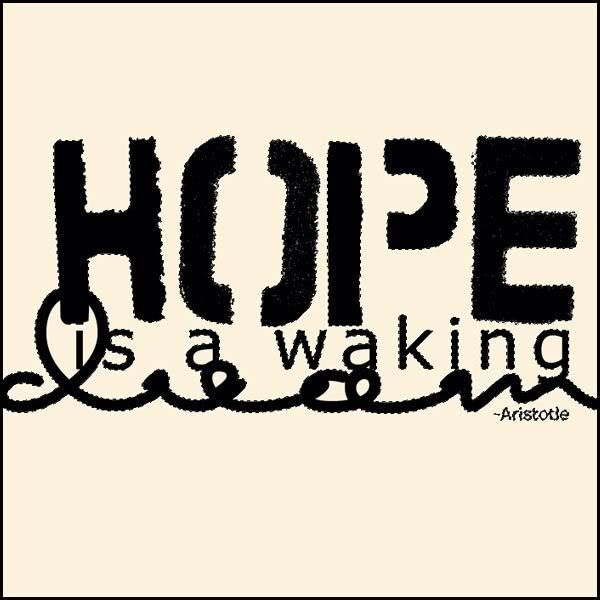
The word art and the heart are graphic elements. No shadows, no depth. They lay flat on the background. And in this layout, them make is seem confused and certainly don't add anything, as is, to the layout!
I'm going to show you how to sticker 'em in Photoshop.
Remember, with Photoshop and all programs, there are many ways to get the same thing done. I'm going to show you how I do it, but you may find an easier way. And what works in Photoshop, well, the ideas will easily translate into most programs!
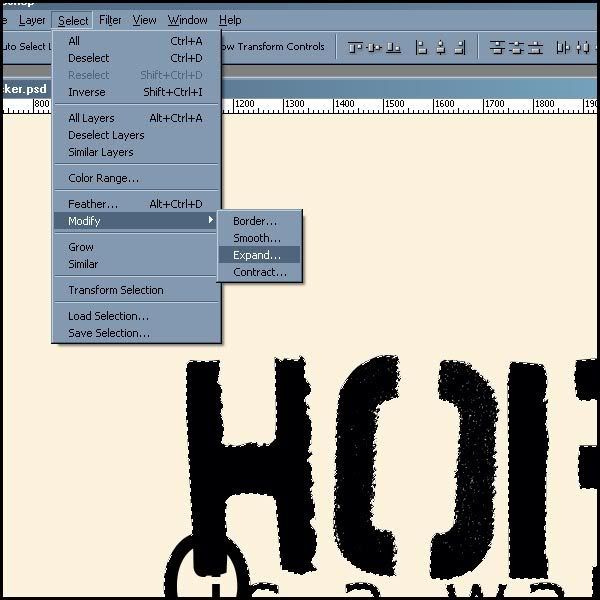
First, with your magic wand tool, select the element you want to make a sticker.
Then go to select > modify > expand and expand your selection by about 15 pixels.

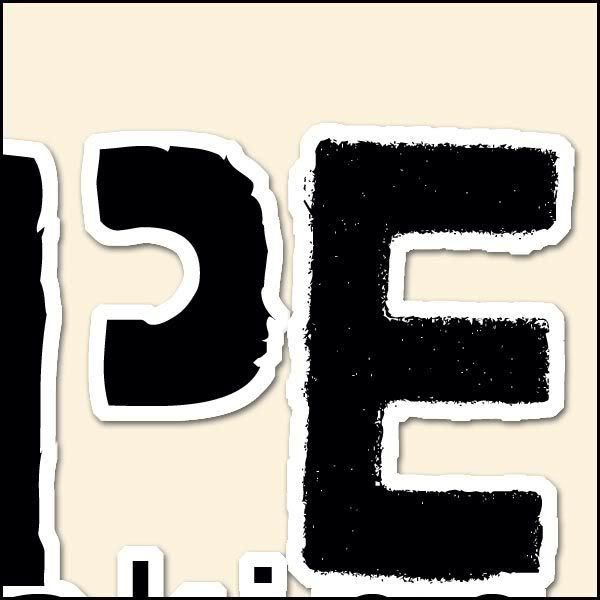
Add a layer beneath your object and fill it with white.
Add a shadow and your done! But if you have Photoshop, I'm going to show you a little tip to make it just a bit better. Take a close look at the white. Can you see how it's just a big jaggy. It's not enough to drive me crazy, but it is enough to bug me! So, we're going to use paths to fix that right up.
Go back to where you just made your selection 15 pixels bigger. Open your Paths window. With those marching ants going around, click on the fourth button at the bottom of the Paths window, Make work path from selection.
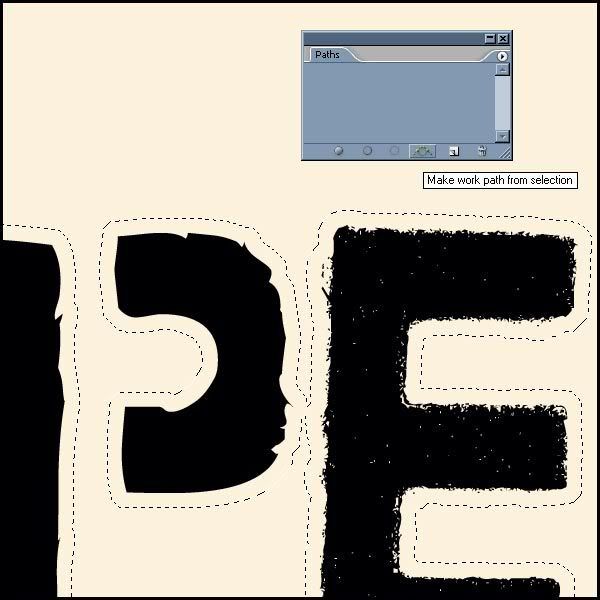
This is what it'll look like.

Make sure you are on a blank layer underneath your element and that your foreground color is white. Then click on the first button on your Paths window, Fill path with foreground color.
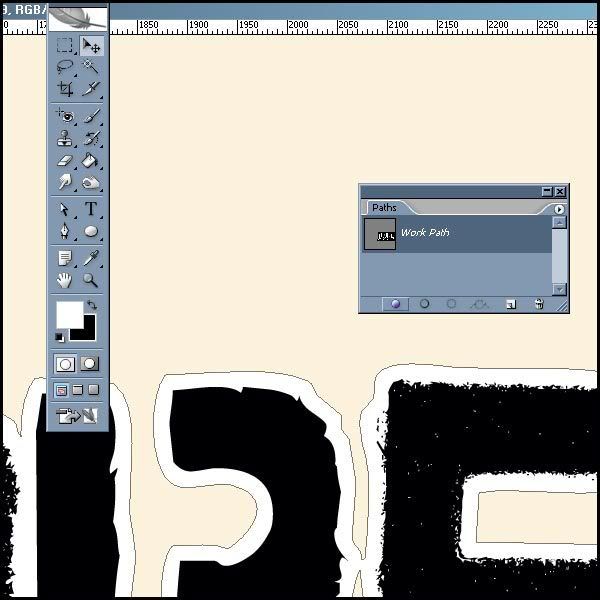
(tip: in your paths window, click anywhere off the work path selection to have the path line disappear.)
Add a shadow. And take a close look! See how much smoother that is!

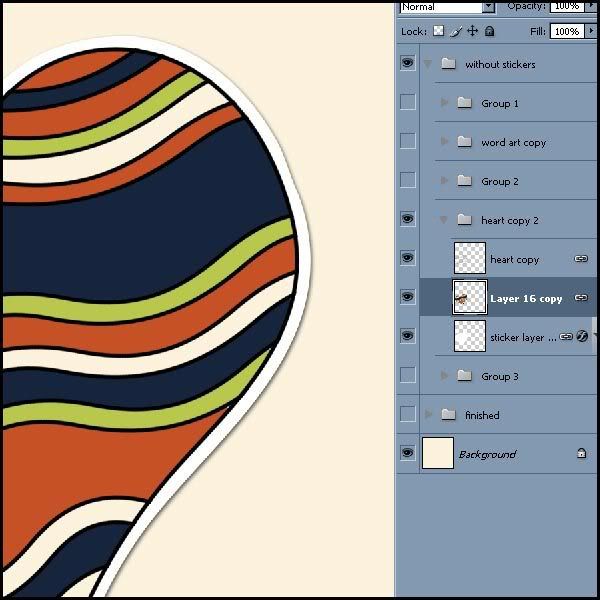
I did the same thing with the heart element. Selected the heart, expand the selection, convert to a path, fill with white, add a shadow.

Then I added some color. By adding a new layer, between the heart and the sticker layers, I was able to select individual areas and fill away!
Making a sticker is easy. Adding the extra path step will just push your element creation to the next level!
Just for reading through the tutorial, I've uploaded the layout I made as a ready-made layout freebie! It's 8"x8" at 300 dpi with room for four pictures! Just plop four of your favorite photos on a layout below the png file included in the zip and you have a layout ready to go!
Enjoy!

9 comments:
That's an interesting way of doing it! I always use the layer styles and add a stroke to the layer I am working with. Your way, covers up all those holes really easily which isn't always that easy with the stroke. And the shadows have to be tweaked because the source is not counting the white part, only the black part.
Thanks for the tutorial!
That's a really cool tutorial.
Oooooh... I LOVE a good tutorial! Thanks so much for sharing that with us. Fun! And thanks too for the wonderful page.... your gear is great! So glad I stopped by. THANKS!!!
Thank you! Your blog post will be advertised on the DigiFree Digital Scrapbooking Freebie search engine today (look for timestamp: 08 Jul [LA 03:19am, NY 05:19am, UK 10:19am, OZ 08:19pm]).
Thanks Beth
I just started learning photoshop so this tutorial really helped.
I just love the Scraping Hope Kit is is one of my favorite kits ever
happybeingamom
I really appreciate being able to learn how to do things for myself! Thanks for the tutorial.
Very cool! Thanks so much Beth. I'm gonna practice this tomorrow....I mean this afternoon. It's 5:30 am now and I need sleep.
Your tuts are SO easy to follow and this one is no exception! Thanks!
Thank you! Your blog post will be shared on
CU Freebies Only Forum on Tuesday January 19th 2010, in this topic Learning Center,
Your Place to find Commercial Use Scrap Booking Freebies!
Thanks For Sharing your Time and Talent with us!
Post a Comment